IDX Broker Details Template California
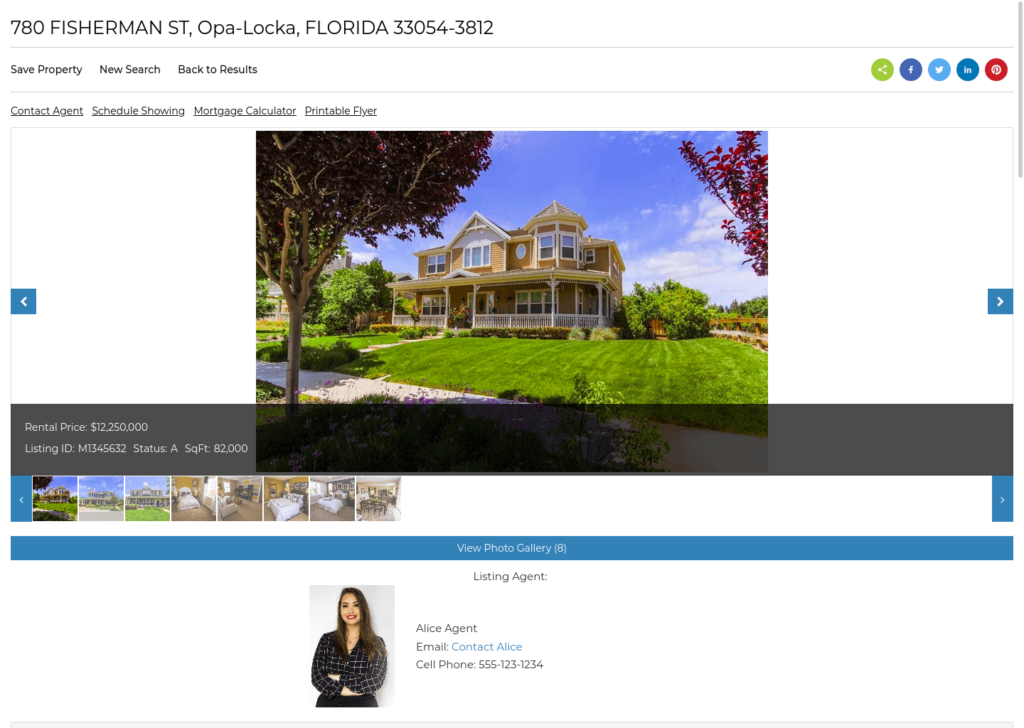
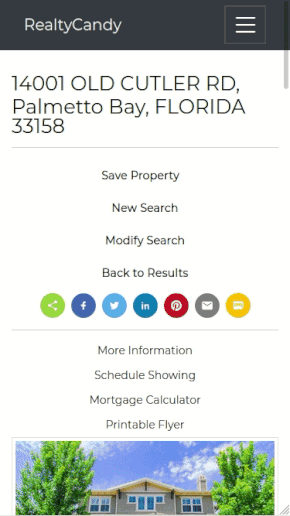
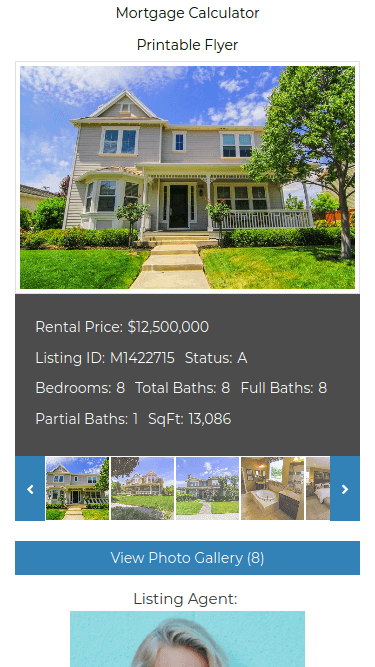
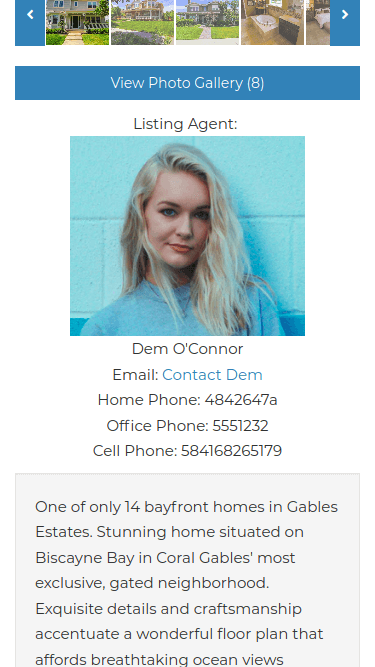
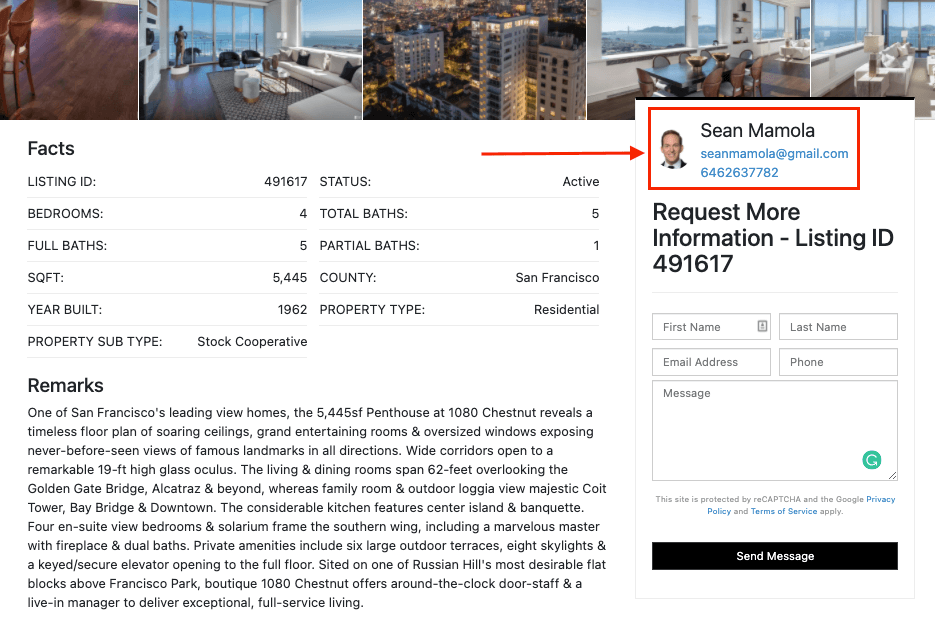
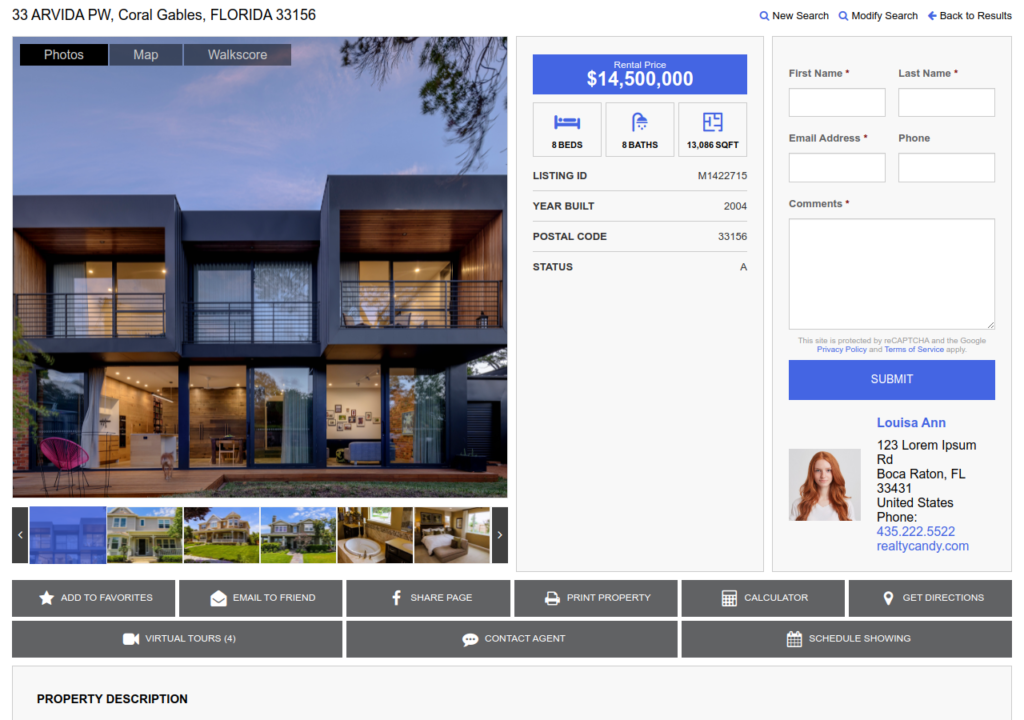
The California Details Template is a great choice for agents that want a nice photo gallery with large images on their Details pages.
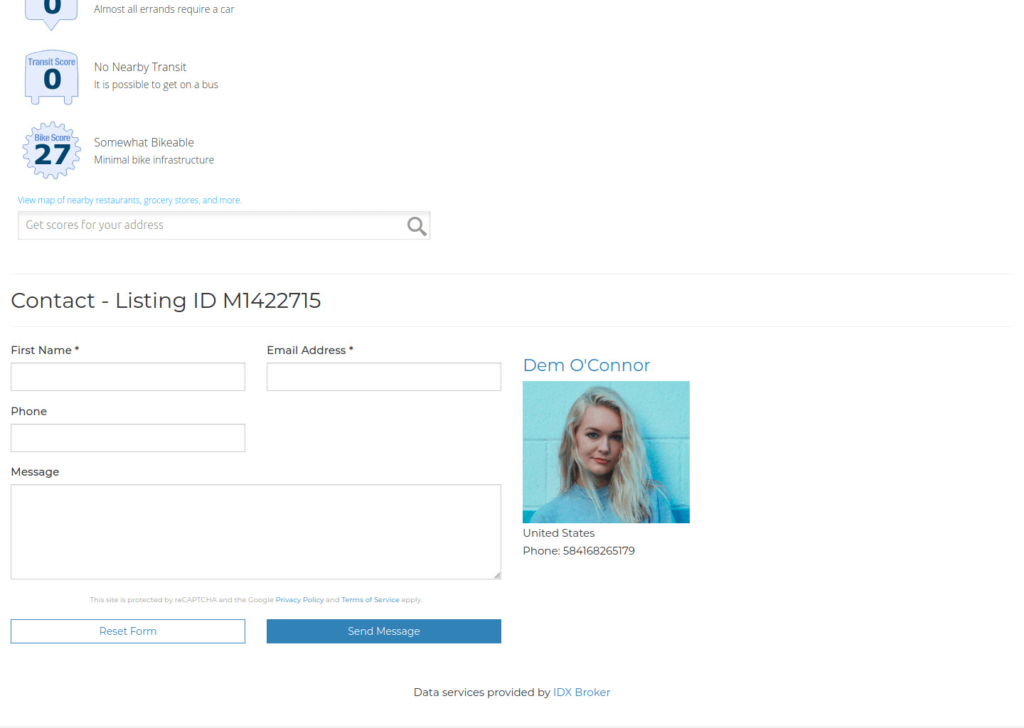
It also features agent contact info at the top for your featured listings as well as at the bottom of the page, making sure your clients will have your contact information without needing to scroll around the page too much.
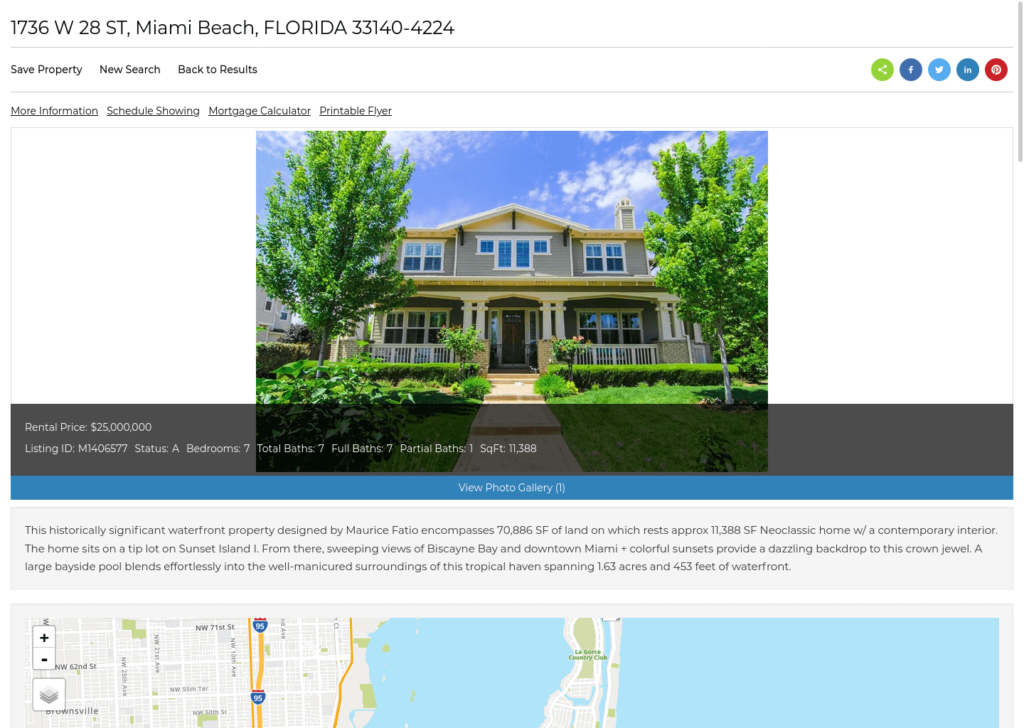
Included in this Template
Some of our clients
using this template
FAQ
To get any of our premium templates for your IDX pages, all you have to do is to make us your IDX Broker developer. This process is fast and FREE.
Just send an email to IDX Broker that says you’d like to use Realty Candy as your developer or sign up for your IDX Broker account using our sign-up form.
Your payments with IDX Broker will continue as they are, directly to IDX Broker. You will also have access to IDXAddons.com at no charge.
Contact us here if you have any questions about this process!
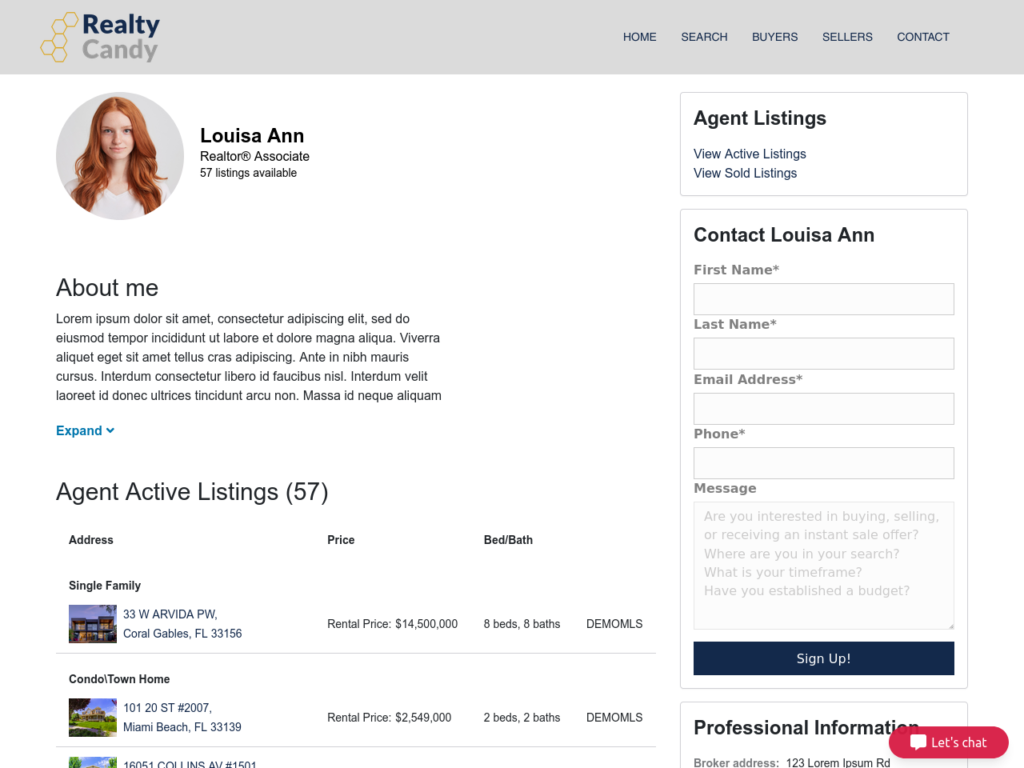
That information is provided by our Agent Information Add-on for Single-Agent accounts. To change it you just login at https://idxaddons.com with your IDX Broker API Key and go to Apps then Agent Information.
If you have a Multiple-Agent/Office account, you can change the agent’s information at https://middleware.idxbroker.com/mgmt/agents and your Office information at https://middleware.idxbroker.com/mgmt/account.
You can log in to your IDX Broker account, go to Design > Website > Custom CSS and on the Categories or Pages tab, select the Details page and just add this code to show the navigation:
#IDX-detailsTopNav { display: block !important; }
To hide the navigation, the code is:
#IDX-detailsTopNav { display: none !important; }
Yes, log in to your IDX Broker account, go to Design > Website > Custom CSS and on the Categories or Pages tab, select the Details page and just add this code:
.IDX-detailsAddressLocationInfo { display: block !important; }
Yes, just log in to your IDX Broker account, go to Design > Website > Custom CSS and on the Categories or Pages tab, select the Details page and just add this code to show it:
#IDX-detailsHotAction-print { display: block !important; }
To hide the Printable Flyer button, the code is:
#IDX-detailsHotAction-print { display: none !important; }
Yes, for this you need to go to your IDX Broker account, then click on Design > Website > Custom CSS and on the Categories or Pages tab and add this code:
#IDX-fieldsWrapper { display: block !important; }
First, check if you added the key correctly at: https://idxaddons.com/?page=api-keys
If it still doesn’t show, please add this code to your Custom CSS section under Design > Website > Custom CSS and on the Categories or Pages tab:
#homeValue { display: block !important; }
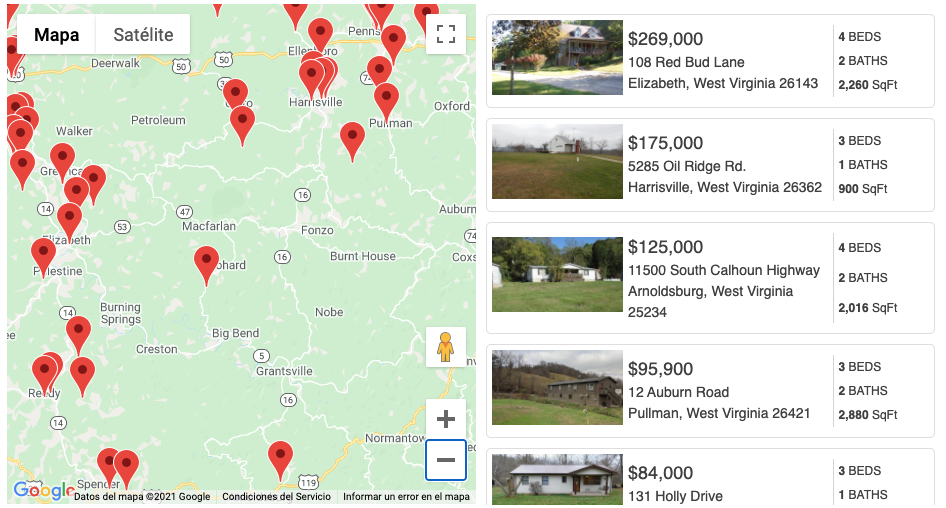
Yes! We created an addon for you to be able to have Google Maps on your IDX Broker pages. To activate it you just need to go to API Keys and enter a valid Google Maps API Key. Then go to the IDX Maps to Google Maps addon and just click on Activate.
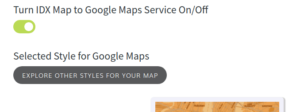
There you can also select the theme you want to use from a large variety of options: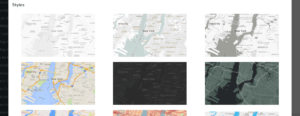
Yes! If you are a Realty Candy partner, you can easily change colors using our templates. We created the IDX Colors for this purpose, this addon will change the colors of the menus, map pins, links, and button colors on the IDX pages, as well as fix some minor styles on all IDX pages.
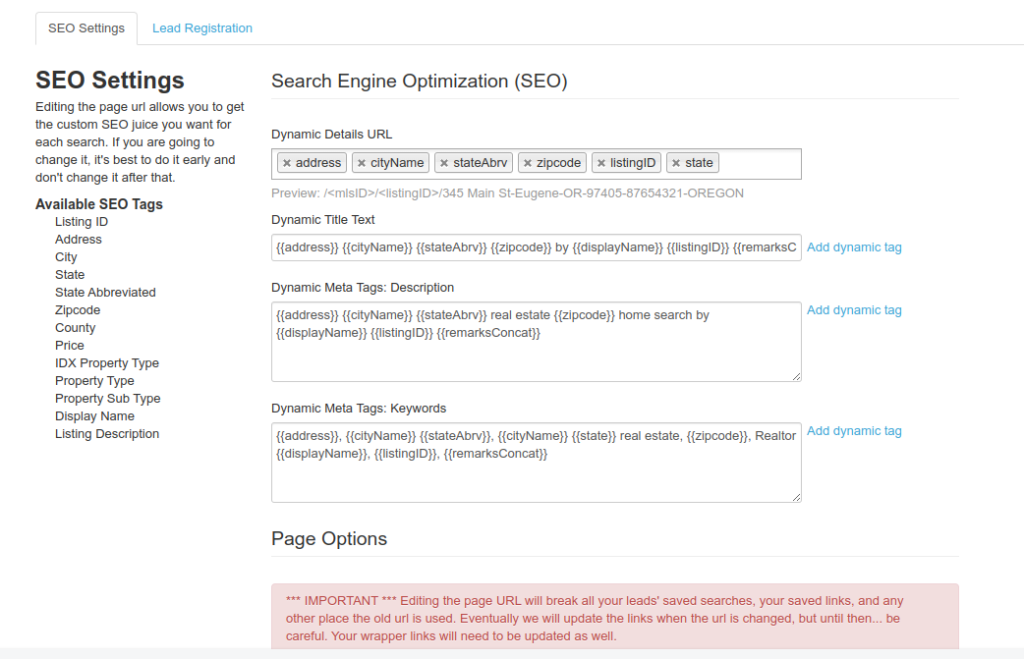
By default, the meta descriptions on IDX Broker pages can get pretty long. The meta title and description for your Details pages can be edited in your IDX Broker account dashboard to better fit your market area and SEO needs.
To find those settings, first navigate to Design > Pages, and scroll until you see the page you want to edit.
The SEO settings option is available for almost all IDX Broker pages, including the search pages (address, advanced, basic, email update signup, listing id, map search), the results pages (featured, sold/pending listings and saved links), and the details pages, as well as the link showcase, mortgage, photo gallery contact home valuation, roster, market reports, and so on.
Then click the “Edit” button under the preferences' column. The page should look similar to the screenshot.
To place dynamic attributes (values that change according to the page you are in), you can enter the variable surrounded by double curly brackets, like this {{variable}}. Here is a list of variables you can use:
- Listing ID - {{listingID}}
- Address - {{address}}
- City - {{cityName}}
- State - {{state}}
- State Abbreviated - {{stateAbrv}}
- Zipcode - {{zipcode}}
- County - {{countyName}}
- Price - {{listingPrice}}
- IDX Property Type - {{idxPropType}}
- Property Type - {{propType}}
- Property Sub Type - {{propSubType}}
- Display Name - {{displayName}}
- Listing Description - {{remarksConcat}}
