Introducing Community Stats and Data Graphs
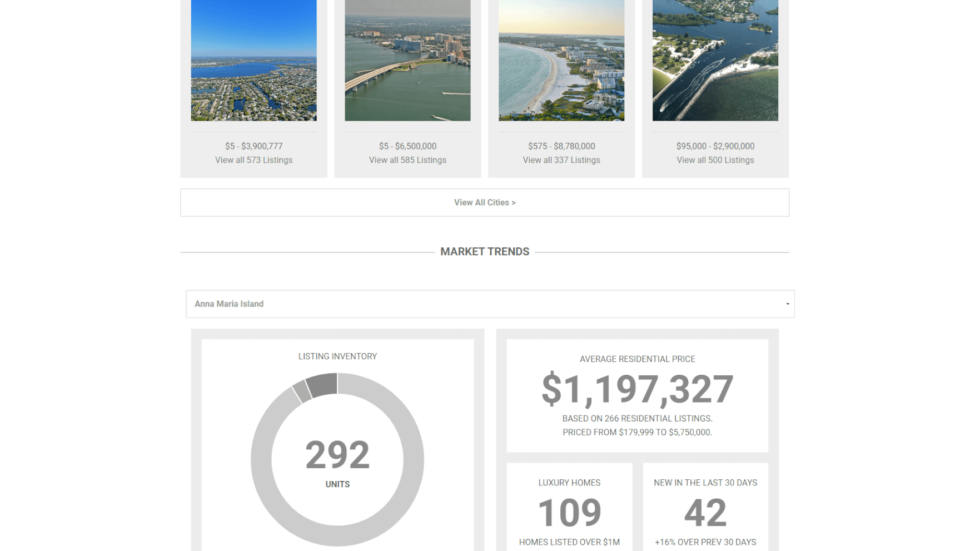
Check our new Data Graph Widget at idxaddons.com and add graphs from IDX data to WIX, SquareSpace, WordPress, and many other platforms.
Our Community Stats IDX Add-on is a tool we now offer free here at RealtyCandy to help you boost the functionality and style of your site. It helps brokers to feature communities by linking them to any page via a small widget, showcasing some of the basic information about the communities and enabling potential clients to easily find and view the listings for these locations.
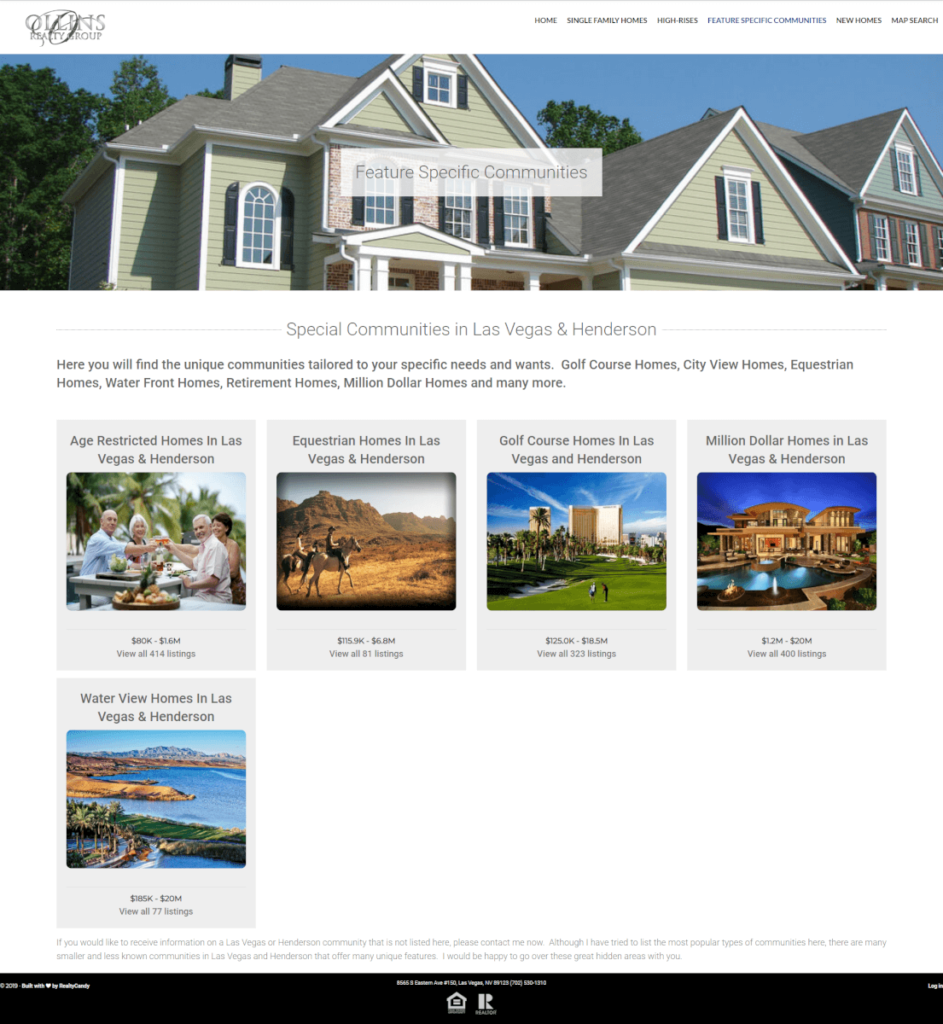
Here’s how Ollin’s Realty Group set up their Community Stats:
Benefits to Using Community Stats and Data Graphs
Both of these tools allow you to feature your communities on any pages, with a stylish and uncomplicated approach. Plus, these tools are proven to increase the time clients spend on your site, and their chances of browsing through multiple pages, improving your overall SEO!
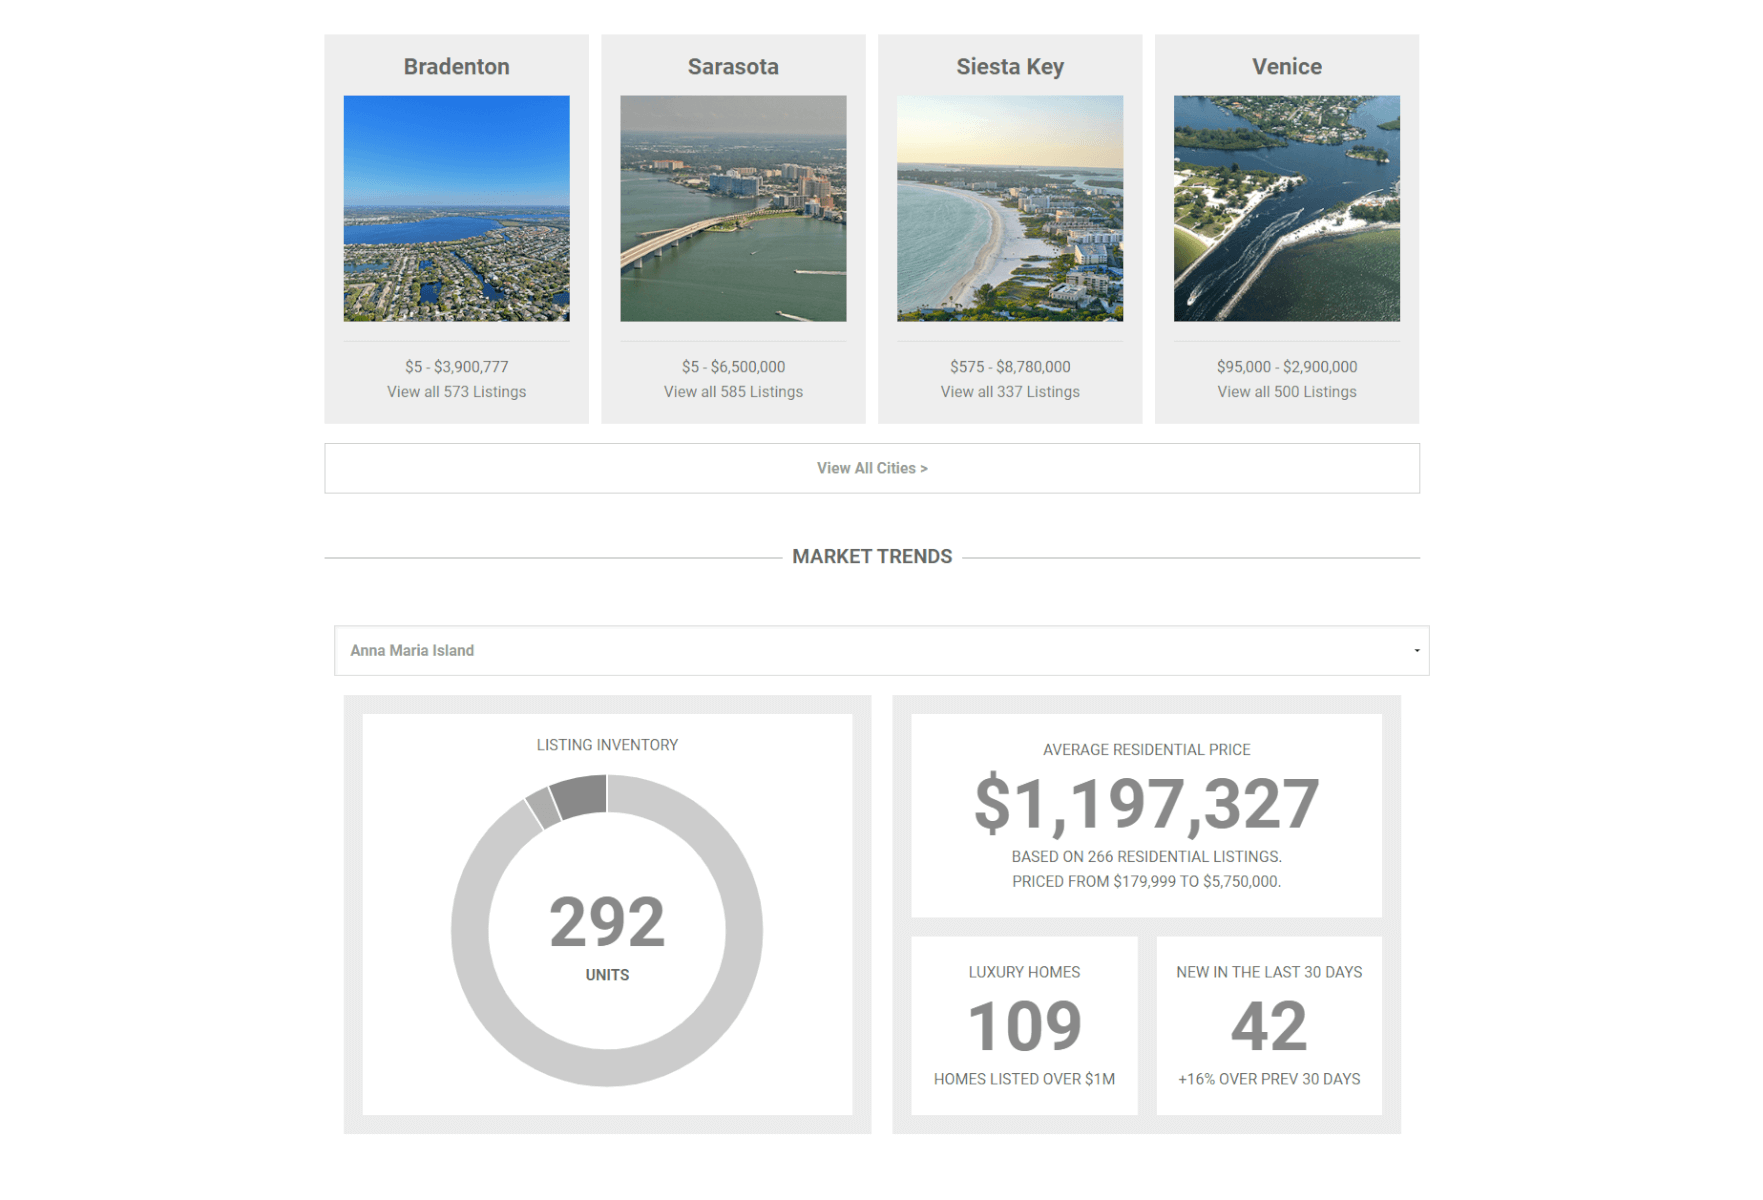
For the Community Stats, you have an image, a number of listings, a price range, and a title for each community, and can showcase as many communities or as few communities as you like! Our clients love to use these either on their Home Page or on a dedicated Featured Communities page. Some like to build this out for all of the communities they serve, and others prefer to choose the ones that garner the most attention.
The Community Data Graphs look attractive and boast the ability to show accurate listing information for any community or city. Our clients love to use these on their sites to add a little pizzazz and flavor to a page while showcasing their knowledge as an established resource for information in their market. What would look like a boring paragraph of information is instead capable of attracting attention by putting the data in this aesthetically pleasing graph.
For another great example of a client we have using both of these features, check out Hunt Brothers Realty, who features both of these tools right on their front page!
How to Set Up the Community Stats
First, go to the “Edit” page for the Community Page you’d like to add and check the URL for the Page ID, a number used to denote the specific page and automatically assigned.
Then, on the page where you’d like to add the Community Stats feature, simply edit the following code with the IDs for your desired Community Pages and paste your edited code into the text editor wherever you’d like it to appear, or in the text section of any text module in Beaver Builder if you use the plugin to edit your pages.
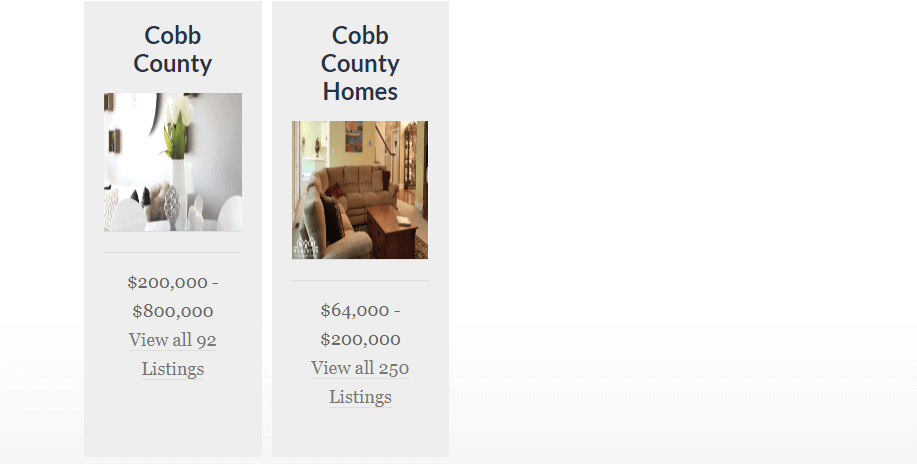
[idxaddons_community_stat ids="4126,4128"]This version of the code has two communities, so they have a comma between them and are both placed inside the quotation marks. Without styling, they should look something like this:
How to Set Up the Community Data Graphs
You can also display Community Data Graphs anywhere on your site by pasting the ID of the Community Page whose data you want to display in the four-digit section in quotations, and then just paste the edited shortcode wherever you want the graph to show up on the page. In the case of the second community from the Community Stats example, it would be this code:
[idxaddon_data_graph id="4128"] If you want one of these graphs to display within a community page itself, you can use the following shortcode instead, no need for a page ID since that’s the page it’s on:
[idxaddon_data_graph]
If you don’t see the page IDs for your community pages, check the “edit” page URL while on the page you’re trying to find the ID for.
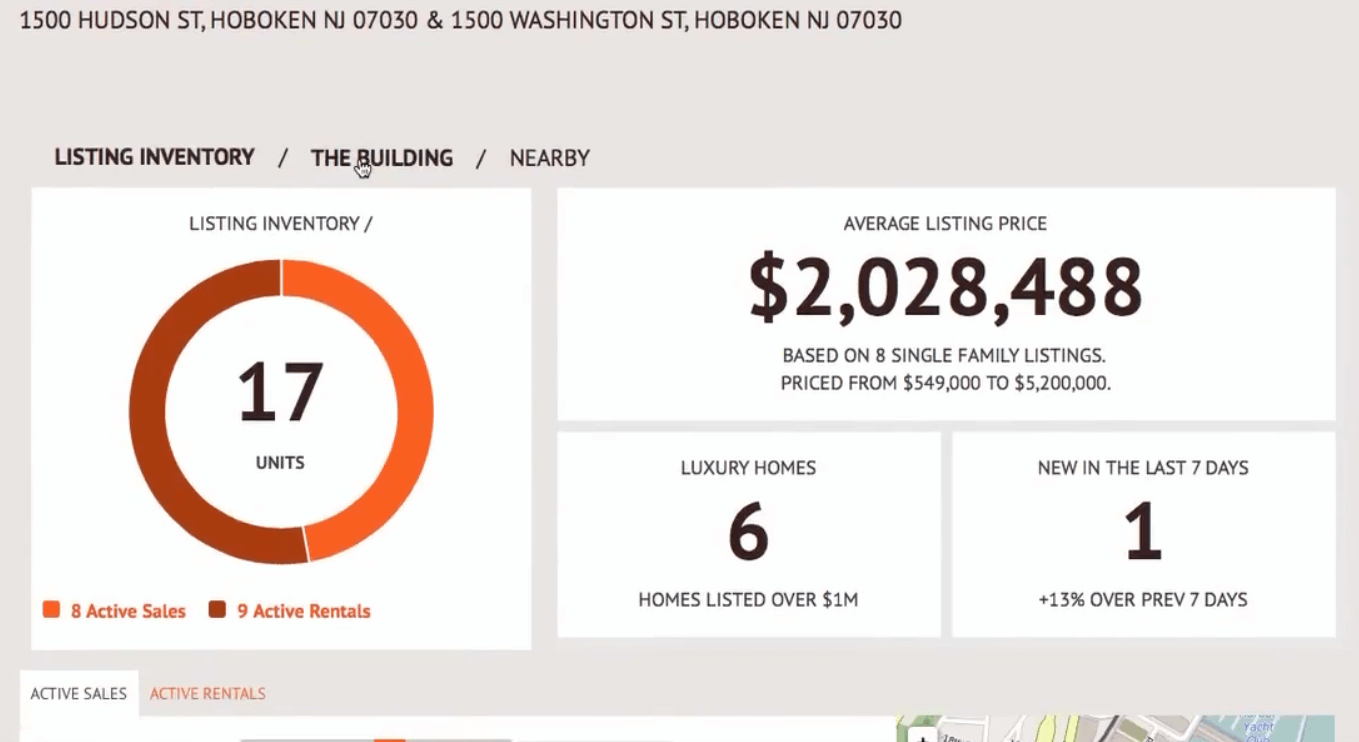
Styling Community Data Graphs
To style the large, blue text on the right side of the default style for the Data Graphs, copy and paste this CSS code into your WordPress Dashboard by going to the Appearance tab to where it says Custom CSS. If this tab doesn’t show up on your site, you can go to Appearance > Customize > Additional CSS. Paste the code into the last line of the section.
/*Only the first box
.total-price:first-child > span
*/
.total-price > span {
	color: #000; /* font color */
	font-size: 50px;
}
});
To edit this code, replace the hex code #000 with the desired color and font size where it says “50px” with the desired px for size.
Get These Tools With RealtyCandy
If you’re currently hosting somewhere else and would like these tools on your website, please contact us today! You can sign up for our WordPress Managed sites to get:
- SSL certificates
- Daily Backups
- Managed Updates
- Security Scans
- and much more…
Visit realtycandy.com/simply-idx to sign up today.