What is an IDX Broker Saved Link & how do I create one?
A Saved Link is a tool that will allow you to showcase listings from certain cities, counties, postal codes, subdivisions, etc. You could even filter them by price range, or any other search criteria you think is appropriate.
IDX Broker Saved Links are ideal to create community pages that you can link directly from your website, or you can also share them with your leads.
Create an IDX Broker Saved Link
In order to create an IDX Broker Saved Link, you need to log in first to your IDX Broker account, then go to the option for Design > Website > Saved Links.
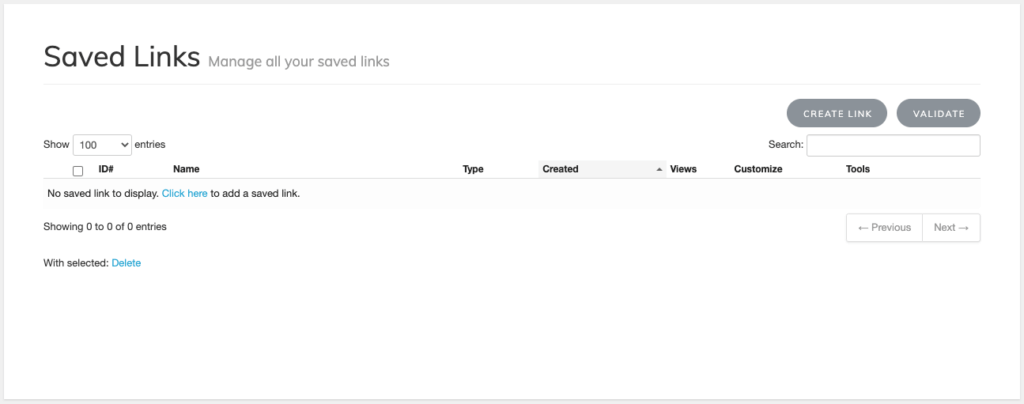
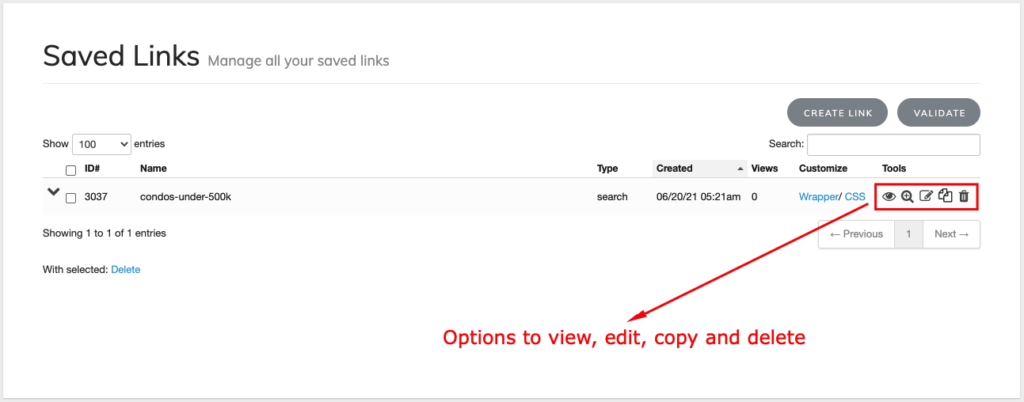
There, on the IDX Broker Saved Links page, you will be able to create, edit and delete your IDX Broker Saved Links.
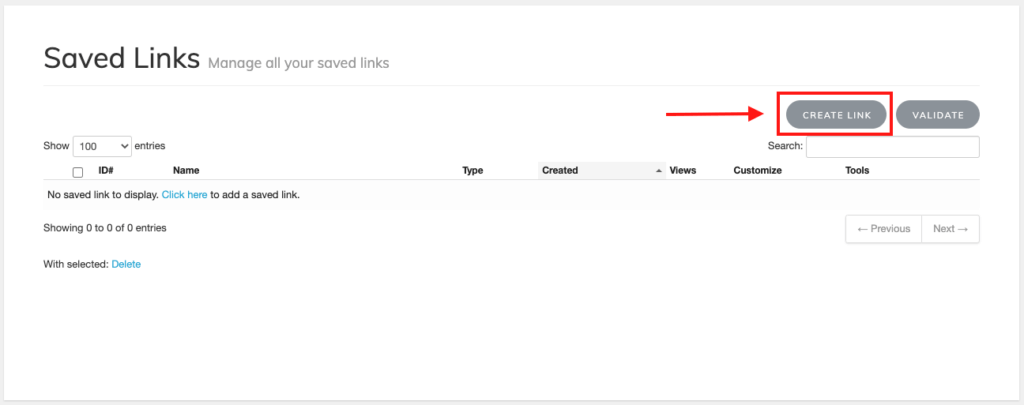
To create a new IDX Broker Saved Link just click on the Create Link button located at the top-right:
In this post, we are going to create an IDX Broker Saved Link for Condos under 500K.
Condos under 500K IDX Broker Saved Link example
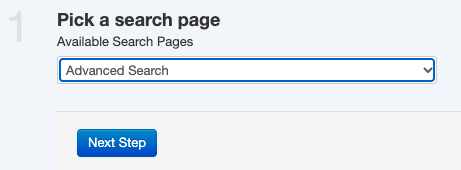
Step 1 – Pick a Seach Page
The first step after clicking the CREATE LINK button is to choose the kind of search you want to do. The options are: Address, Advanced Search, Basic Search, Email Update Signup, Listing ID, Polygon, Map Search, and Custom. In this example we are going to select the Advanced Search option and click the Next Step button:
Step 2 – Search Criteria
In this step, you have to enter the search criteria you want to use for your IDX Broker Saved Link. For our Condos under 500K, the search criteria we are going to use is:
- Property Type = Residential
- Property Sub Type = Condominium
- Status = Active
- Max Price = $500,000
- Refinement = Has Image (this is optional but it would be good to have images in all our listings)
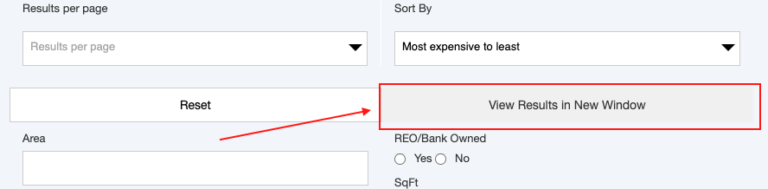
- Sort By = Most expensive to least (also optional)
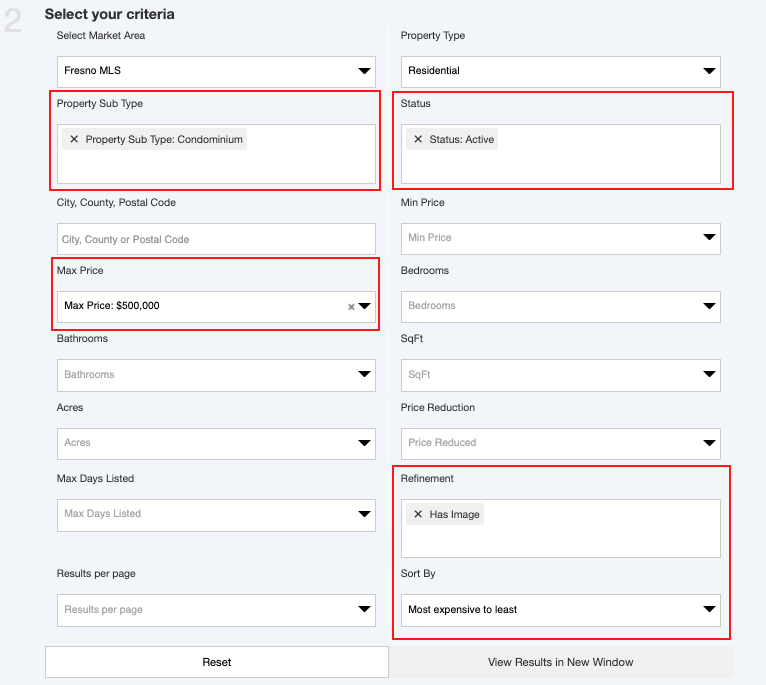
NOTE: The name and the values of these fields could be different in your MLS area.
It is recommendable to click on the “View Results in New Window” button, to make sure you are getting the results you are expecting for this IDX Broker Saved Link.
Please click the “Next Step” button when you are done adding your search criteria.
Step 3 – SEO Settings
Now you have to name your IDX Broker Saved Link and configure some SEO fields to make it SEO friendly. This way, your leads will read proper information when you share the URL.
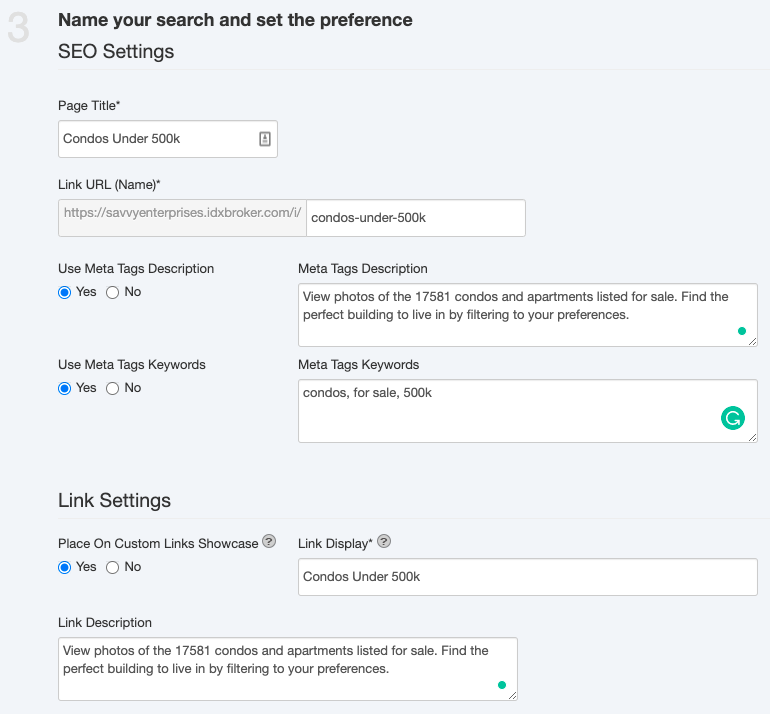
Only “Page Title” and “Link URL (Name)” are mandatory, the rest of the fields are optional, but if you fill in those fields you will be providing more information to your clients.
You will also find a Sub-header section below the SEO settings. In this Sub-header section, you can add any text or image you want to include in your IDX Broker Saved Link. In this example we are going to add this title: “Condos Under 500K”

You are done, click the “Save & Manage links” button to finish unless you want to create another link, if so, you should click the “Save & Create another link”.
Either way, now you should be able to see the IDX Broker Saved Link you just created if you visit the Saved Link’s main page.
This is how it looks the IDX Broker Saved Link we created in this example: https://savvyenterprises.idxbroker.com/i/condos-under-500k
That is how you create an IDX Broker Saved link, but maybe you are wondering… How can I use it?
How to use IDX Broker Saved links
There are several options for you to work with your new IDX Broker Saved Link, you can share the URL with your clients or leads as we did a few lines ago in this article, you can use it on your website navigation menu, regular text links and images are good options too.
Direct Link
You can share the URL of the IDX Broker Saved Link with your leads via email, text message, or social networks. You only have to copy/paste the URL. For example, this is the URL for the Saved Link we created in this article: https://savvyenterprises.idxbroker.com/i/condos-under-500k.
Website Content
You can use your website content (text or images) to link your IDX Broker Saved Link. You only have to enter the URL of your saved link in the URL field.
The process will be different on each editor, but the main idea is to add an image or some text and use the link tool to configure the URL of your IDX Broker Saved Link on it:
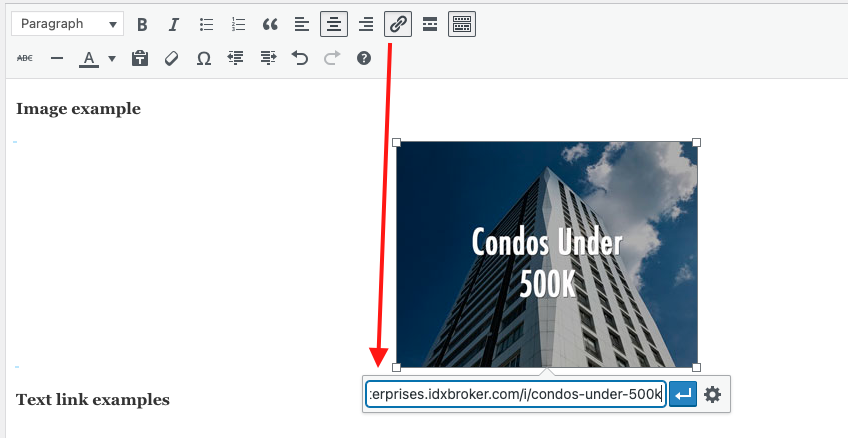
It would look similar to this:
Image example

Text link examples
Heading
Condos Under 500K
Paragraph
Website Navigation Menu
Adding your IDX Broker Saved Links to your navigation menu is one of the most common ways to share them with your website visitors. How can you do that? It will depend on the platform or CMS you used to build your website, let’s see some examples:
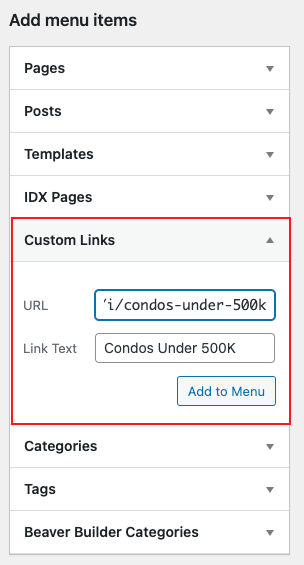
WordPress
You need to go to Appearance->Menu, then select the option Custom Links, paste the URL, type some Link Text, and click on the “Add to Menu” button.
Wix
To add the IDX Broker Saved Link to the navigation menu of your Wix website, you have to go to the option Menu & Pages->Site Menu and click on the “Add a Link” button:
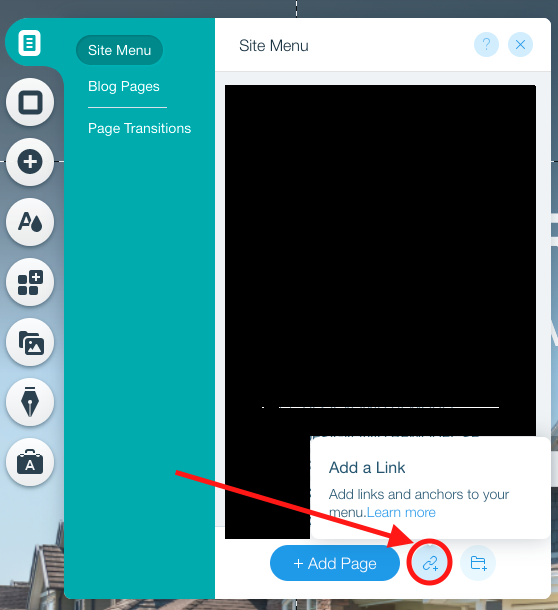
Then you have to select the “Web Address” opinion in the new popup window, paste the URL, choose if you want to open the IDX Broker Saved Link in a new window or the current window, and finally, you need to click on the “Done” button.

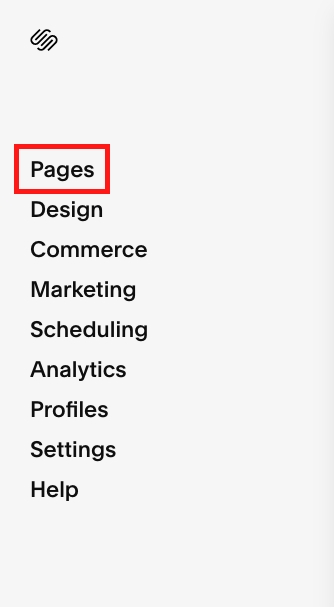
Squarespace
Adding your IDX Broker Saved Link to the navigation menu of your Squarespace is really simple. First, you have to go to Pages:
The next step is to click on the “+” button located to the right of the “MAIN NAVIGATION” label:
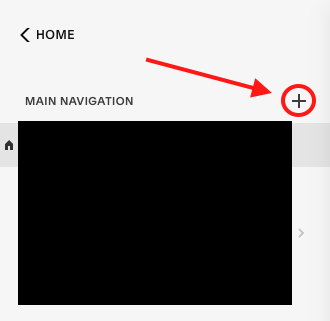
Now you have to choose the “Link” option at the bottom:
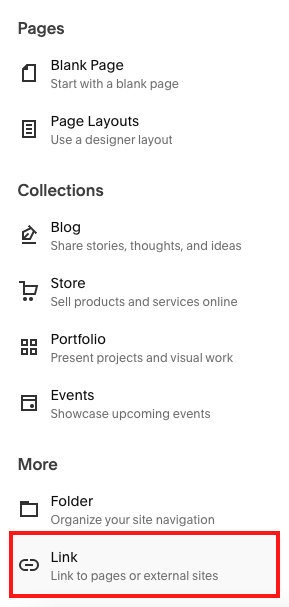
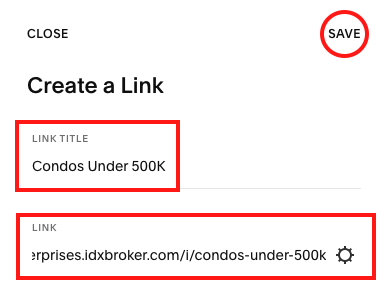
Finally, you can enter the IDX Broker Link title, paste the URL and click on the Save button when you are done.
Check a complete video guide below: